
Wire stripping quality depends on exposing the specified conductor length without harming the remaining wire. You need the correct wire, compatible tooling and clear inspection criteria. This guide explains how to specify preparation, review samples and control changes before ordering custom harnesses.
Define Wire Stripping Quality Before Choosing Equipment
Your stripping requirement should describe the finished wire condition and its intended termination.
Start with the connection you need to manufacture. A crimp terminal, solder cup and screw connection can require different preparation. A setting suitable for one connection may leave another improperly prepared.
Separate three questions during your review. How much insulation must be removed? What condition must the exposed conductor retain? What condition must the remaining insulation preserve?
You also need to distinguish stripping from overall wire cutting. The finished harness length and exposed conductor length use different reference points. Approving one dimension does not establish the other.
Treat preparation as a controlled operation rather than a minor step before crimping. Once a terminal covers the conductor, some defects become harder to observe. Your inspection sequence should preserve access to important features.
Agree these requirements before comparing machine speed or supplier quotations. Otherwise, competing quotations may assume different tooling, inspection and rework allowances. A low processing price cannot resolve an undefined finished condition.
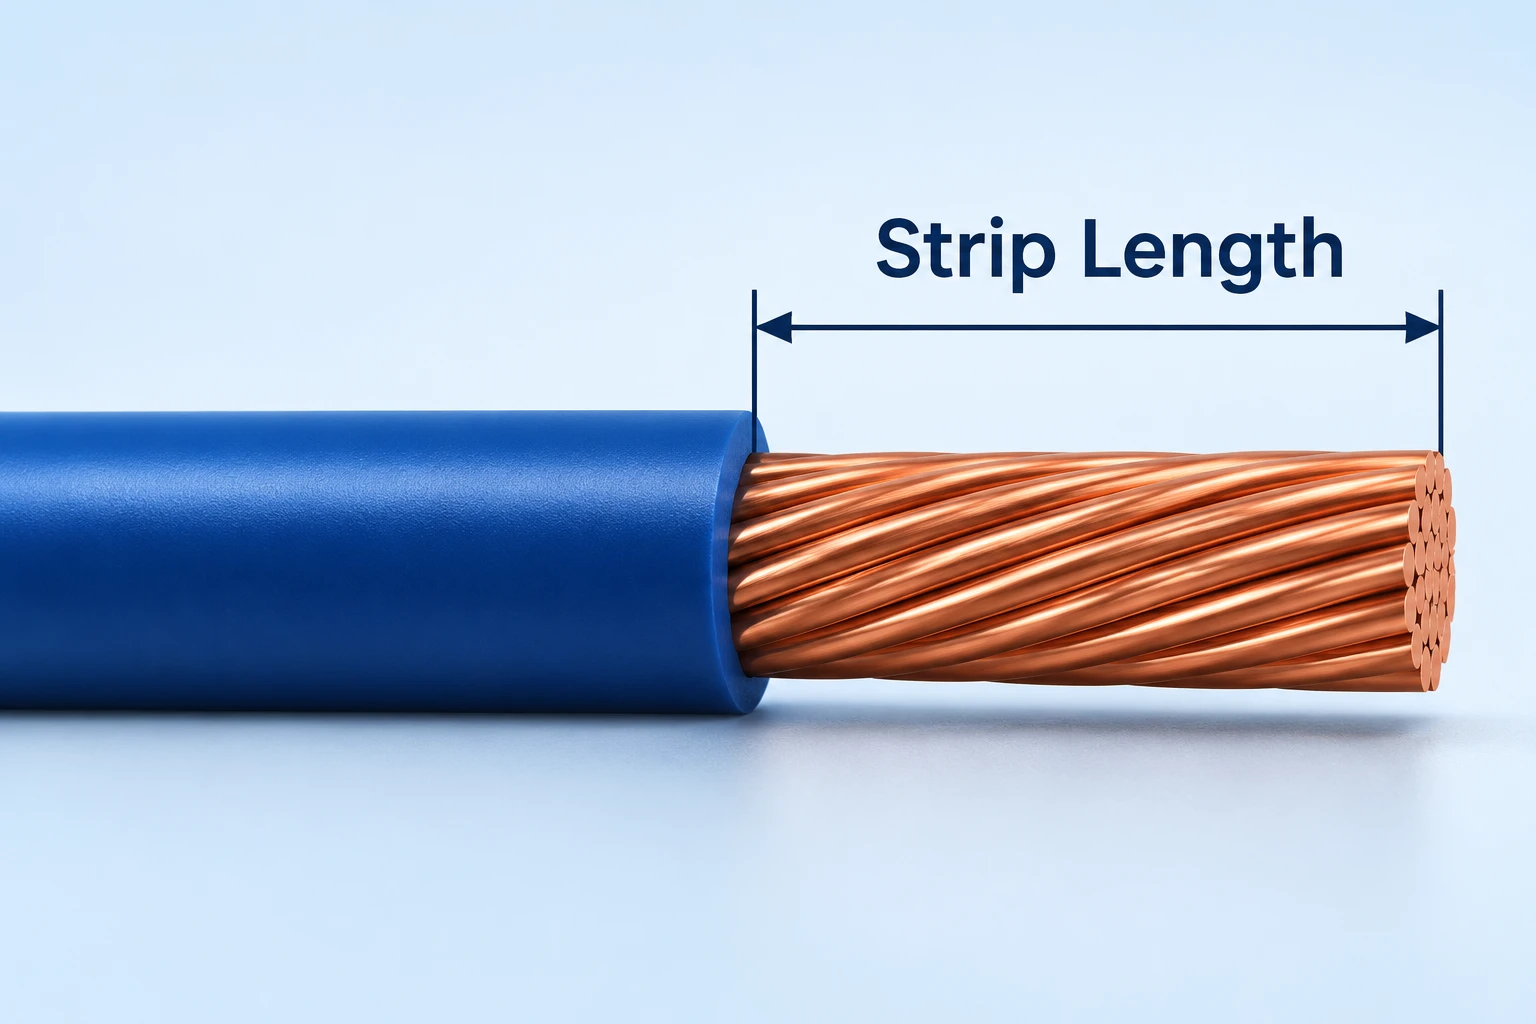
Set Strip Length From The Termination Specification
Your strip length should come from the approved terminal or connection documentation, including its applicable revision.
Locate the application specification for the exact terminal reference. Confirm the permitted wire construction, conductor size and insulation diameter. Similar-looking terminals can use different preparation requirements.
The TE SGI connector application specification associates preparation dimensions with particular terminals and wire ranges. It also cautions against conductor damage during stripping. Use such product-specific instructions instead of copying a dimension from another connector family.
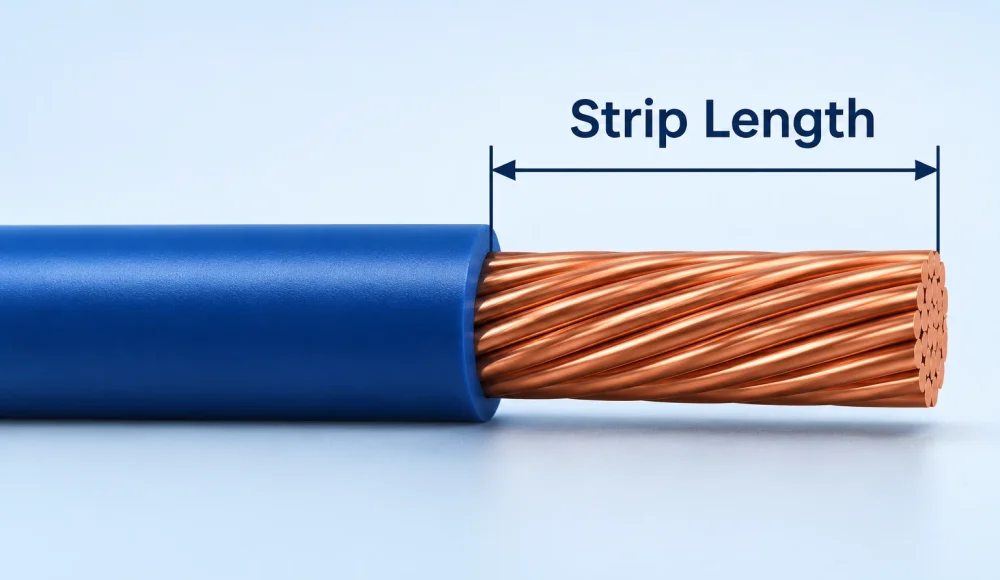
Define how you measure the exposed length. For a straightforward end strip, identify the insulation shoulder and conductor tip. If the shoulder is uneven, agree how the inspector evaluates that condition.
Separate the specified dimension from the equipment setting. A displayed value represents a process instruction, while your measurement evaluates the resulting wire. Your approval should establish their relationship on actual samples.
Check the prepared end again after assembly trials. The conductor must reach its intended contact region while the insulation occupies its required support region. Correct stripping still depends on correct insertion during termination.
Avoid compensating for incorrect insertion by changing strip length without engineering review. That change may improve one visible feature while creating another problem. Review the termination requirements as a connected set.
Identify The Wire Construction Behind The Gauge
Wire gauge alone does not describe every property that affects stripping behavior.
Record the complete wire part number and manufacturer where specified. Include conductor material, plating, strand construction, insulation material and outside diameter requirements. Keep the approved drawing linked to the purchasing description.
Two wires with the same nominal conductor size may use different strand counts or insulation constructions. Their response to the same blade setup may differ. Review substitutions through sample processing rather than appearance alone.
Consider insulation thickness and concentricity when assessing a mechanical stripping method. Your process needs to separate the insulation while preserving the conductor. A nominal outside diameter cannot describe every local relationship between these surfaces.
Also identify storage and handling conditions that affect incoming material. Keep wire reels protected according to their supplier's instructions. Investigate unusual stiffness, surface contamination or visible insulation damage before adjusting the stripping process.
Use representative production wire for trials. An unidentified sample from a technician's drawer may not reflect the purchased material. Record its reel or lot reference so you can understand later differences.
Your wire harness revision process should capture approved changes to wire references. A replacement material can require a fresh preparation review even when the circuit design stays unchanged.
Match Tooling And Settings To The Actual Wire
Choose your stripping method through representative trials and the equipment manufacturer's guidance.
Manual, semi-automatic and automatic methods can require different controls. Identify the tooling, operating method and preparation sequence rather than specifying automation alone. The finished condition remains the acceptance basis.
The Komax Strip Series B300 information lists several independently adjustable processing parameters. These include strip length, pull-off length, incising diameter and clamp force. This illustrates why changing one displayed length cannot address every preparation issue.
During setup, separate the insulation cutting action from the removal action. Incomplete separation and difficult slug removal are different observations. Record what happens before deciding which process variable to change.
Check the condition and suitability of blades and gripping components. Worn, contaminated or incompatible components can complicate setup. Follow the equipment instructions before cleaning, adjustment or replacement.
Do not assume the published machine processing range guarantees your particular wire can be processed. Komax recommends sampling when material behavior creates doubt. Ask your supplier to demonstrate the proposed method on the specified wire.
Keep the approved setup identified by wire and operation. If both wire ends differ, give each end a distinct preparation instruction. Avoid relying on an operator's memory during changeovers.
Inspect Conductor Condition Before It Becomes Hidden
Inspect exposed strands while you can still assess their condition before termination.
Look for notches, cut strands, scraping and disturbed strand arrangement. Also examine the region near the insulation shoulder. Defects at that transition may become difficult to see after assembly.
Do not invent a universal allowance for damaged strands. Apply the acceptance requirements named in your contract and component documentation. If those requirements conflict or remain unclear, resolve the issue before production approval.
Keep cosmetic observations separate from material damage. A changed appearance does not automatically reveal its depth or significance. Agree the lighting, viewing method and reference examples needed for consistent decisions.
Use magnification when the agreed inspection method requires it. Specify enough detail for different inspectors to repeat the assessment. Avoid a vague instruction such as checking under “suitable magnification.”
Compare suspicious conditions with a fresh, properly prepared sample from the same wire. This comparison can help investigation, but it does not replace written criteria. Keep the suspect sample identified until disposition.
Do not straighten or reshape a defective sample before documenting it. Handling can change the evidence you need for root-cause review. Record the condition and isolate affected material first.
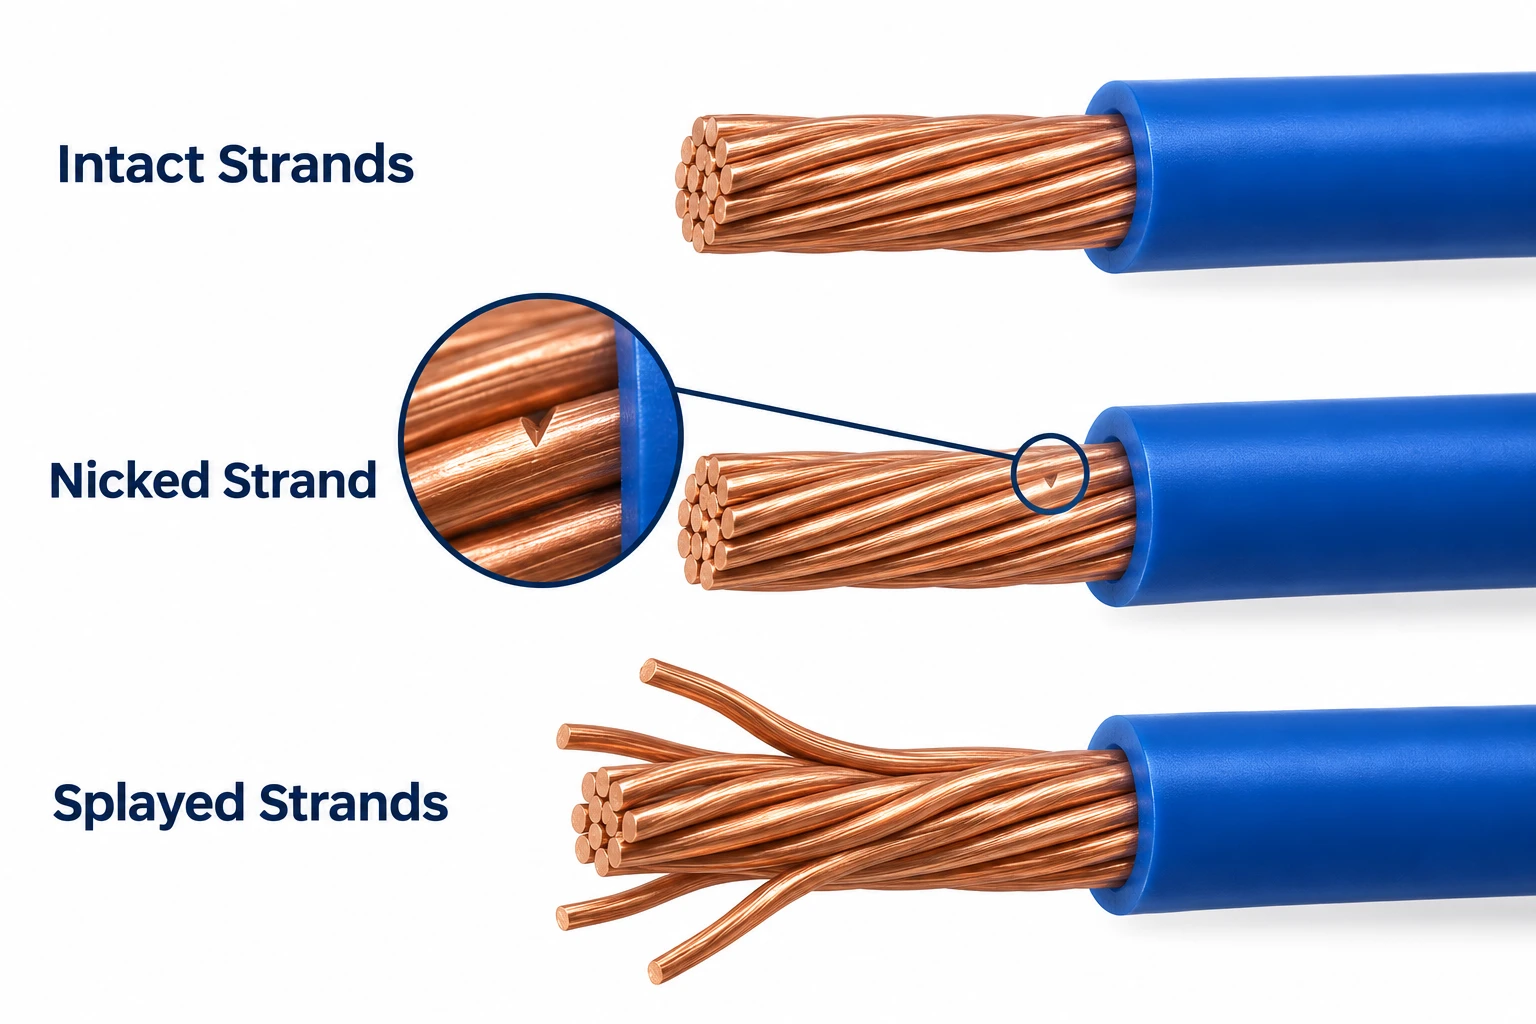
Check Remaining Insulation And Slug Removal
Your inspection should include the insulation that remains, not only the exposed metal.
Check the shoulder for tearing, unwanted fragments and an inconsistent cut edge. Inspect the nearby insulation for cuts, crushing or other damage. Evaluate these observations against the approved workmanship requirements.
Look beyond the immediate stripped end when gripping marks are visible. The tool may contact insulation farther back along the wire. Your inspection view should cover the relevant contact region.
Confirm whether the operation requires full or partial insulation removal. A deliberately retained slug can serve a handling purpose in a defined process. It should not be confused with an incomplete full-strip operation.
If you retain a slug, define its position and removal responsibility. State when exposed conductor inspection occurs after removal. Otherwise, a hidden defect may travel through several operations without assessment.
Control removed insulation pieces around the workstation. Keep loose fragments away from connectors, tooling and packaging. Define the required cleaning method without introducing unapproved chemicals or residues.
When you see repeated tearing or fragments, review the complete operation. Wire behavior, cutting action, removal motion and equipment condition can interact. Increasing force without investigation may create a different defect.
Separate Cable Jacket Removal From Core Stripping
Jacket removal and individual conductor stripping need separate dimensions and inspection criteria.
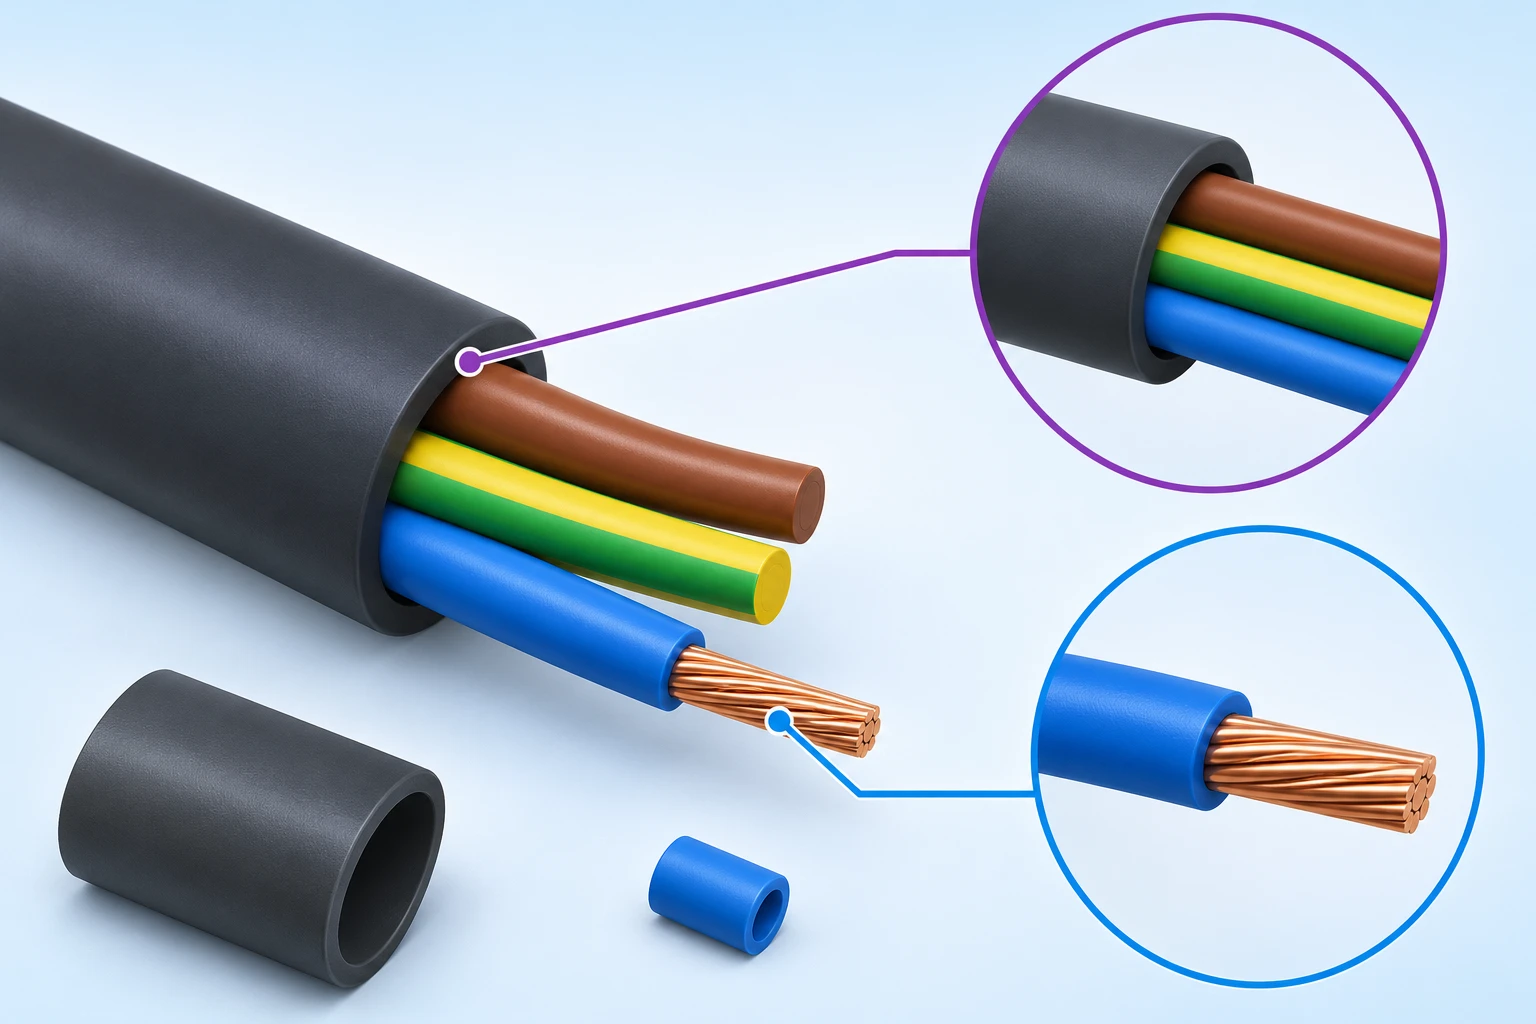
For a multiconductor cable, the outer jacket protects internal elements with their own constructions. Removing that jacket must preserve the components that remain. Inspect the exposed inner wires before proceeding with their end preparation.
Identify the jacket cutback reference on your drawing. Then define each inner conductor's preparation from its appropriate reference. A single length note may leave the breakout and termination geometry ambiguous.
If your cable contains shields, drain wires, fillers or strength members, describe their required treatment. Do not assume that every internal element should be trimmed at the jacket edge. Follow the approved assembly construction.
Review tool access at each stage. A crowded breakout may make later trimming or inspection difficult. Your proposed sequence should allow the required features to remain visible until checked.
Use the cable shield termination guide when your design includes shielding. Keep that electrical connection decision separate from jacket stripping acceptance. Correct jacket removal cannot establish the finished shielding performance.
Do not extend an approved single-wire setup to a layered cable without trials. Different materials and interfaces can require different tooling. Confirm the method and inspection scope for the complete construction.
Build A First-Article And Changeover Review
Approve the stripping process using identified samples, measured results and a documented setup.
Start by checking that the wire, terminal and drawing revisions match. Confirm the proposed machine or hand tool and its relevant components. Record the operation at each wire end separately.
Measure prepared samples before termination, then review representative terminated samples. These checks answer different questions. One evaluates preparation; the other evaluates how preparation interacts with the connection.
Link this review to your crimp height inspection where crimping follows stripping. A satisfactory height measurement does not eliminate the need to inspect prepared strands. Keep each result connected to its own acceptance criteria.
Define the production sampling plan through your quality agreement. Do not borrow a frequency from an unrelated harness. Consider the operation, defect visibility, process controls and customer requirements.
Specify what triggers another setup review. Wire substitutions, tooling replacement, changed settings and unexpected defects deserve defined responses. Restart approval should be clear enough for production and quality teams to follow.
Retain representative samples or records according to the agreed plan. A photograph can show appearance but may not establish every dimension. Use measurement records where dimensions form part of acceptance.
| Review Stage | Evidence To Prepare | Decision To Resolve |
|---|---|---|
| Material Verification | Wire Reference And Lot | Correct Construction For The Operation |
| Setup Trial | Tooling And Settings Record | Repeatable Removal Without Observed Damage |
| Prepared End Review | Length And Condition Results | Conformance Before Termination |
| Assembly Trial | Representative Terminated Sample | Compatibility With The Connection |
| Changeover Release | Updated Checks And Authorization | Permission To Restart The Defined Process |
Contain Defects Before Adjusting Production
When stripping defects appear, contain suspect material before changing settings and restarting work.
Identify the last accepted check and the material processed afterward. Keep suspect wire ends separate from released material. Determine the investigation boundary using your production records rather than recollection.
Preserve examples of the defect and the associated setup information. Record wire lot, equipment, tooling condition and observed symptoms. This gives your team a useful basis for comparison after corrective action.
Change variables through a controlled troubleshooting sequence. If several settings change together, you may lose the explanation for an apparent improvement. Follow the machine manufacturer's safe adjustment procedures.
Evaluate whether rework remains possible within the drawing requirements. Cutting back a damaged end reduces available wire length. The remaining assembly must still satisfy its dimensional and routing requirements.
Your harness length tolerances should therefore remain part of rework decisions. A clean new stripped end does not automatically make the shortened wire acceptable. Obtain disposition before using material outside the approved configuration.
After corrective action, verify both preparation and the downstream connection. Record the release decision and affected material disposition. Keep the correction linked to the actual defect rather than a general maintenance note.
Compare Supplier Quotations On A Common Preparation Scope
Compare stripping quotations using the same wire references, termination requirements and inspection scope.
Preparation cost can depend on material behavior, operation count, access and changeover frequency. Special tooling or additional sample work may also affect the quotation. Request a clear scope instead of an unsupported universal processing price.
State whether the supplier purchases the wire or processes customer-supplied material. Identify who resolves material substitutions and who approves sample results. These responsibilities can affect both timing and inspection records.
Separate routine inspection from development investigations or special validation. A request for detailed microscopy or destructive examination needs an agreed method. Confirm the deliverables before treating them as included production services.
Ask how the supplier controls mixed preparation requirements within one harness. Similar wires with different end strips create opportunities for setup confusion. Clear operation identification can be more useful than a broad automation claim.
Provide order quantity, expected annual demand and the likely product revision schedule. These inputs help the supplier assess setup and tooling needs. Avoid estimating savings from machine speed alone.
Review Wire Preparation Requirements With XSD
You can ask XSD to review wire preparation against your approved harness and termination requirements.
XSD's manufacturing capabilities describe wire cutting, stripping and project-specific preparation. Its published workflow links these operations to terminal processing and inspection. This supports a drawing review without implying universal strip tolerances or a particular equipment brand.
Send the wire specification, terminal references and applicable application documents. Include end preparation dimensions, inspection criteria and any known processing difficulties. Identify unresolved decisions so they remain visible during quotation.
Agree sample approval, production checks and additional investigations separately. Ask which records accompany the order and which require a specific request. Do not treat a general capabilities page as your finished product acceptance plan.
Frequently Asked Questions
Resolve preparation dimensions, damage criteria and change control before approving your production order.
Is Strip Length The Same As Wire Cut Length?
No. Strip length describes insulation removal, while wire cut length describes the prepared wire's overall dimension. Define their separate reference points. Your finished harness drawing may use additional installation datums.
Can You Use One Strip Length For Every Terminal?
Use the applicable connection specification. Different terminal references can require different exposed lengths and insertion conditions. Similar appearance does not establish interchangeable preparation.
Does The Same AWG Guarantee The Same Settings?
No. Strand construction, insulation and other material details may differ. Trial the specified wire and control approved substitutions through your preparation review.
Does A Continuity Test Prove Good Stripping?
No. Continuity alone does not establish strand condition or intact remaining insulation. Use the agreed physical inspection alongside electrical checks. Each method addresses a different part of acceptance.
Are A Few Damaged Strands Always Acceptable?
Do not assume an allowance. Apply the specified workmanship and component requirements. Resolve missing or conflicting criteria before accepting the prepared wire.
Can You Rework A Damaged Stripped End?
Rework depends on the approved method and remaining wire length. Inspect the new preparation and confirm the assembly still meets its drawing. Obtain authorization when disposition requires it.
Can A Retained Insulation Slug Be Intentional?
Yes, when your approved process specifies partial removal. Define when the slug is removed and the exposed conductor is inspected. Retention should remain a documented operation.
What Should You Send For A Stripping Review?
Send the complete wire reference, termination documents, preparation dimensions and inspection criteria. Include quantities and representative material when requested. Identify any proposed substitutions before sample approval.
Send Your Wire Preparation Requirements
Send your drawing, wire references, termination specifications and expected quantities for review. Include preparation dimensions and acceptance criteria. Contact XSD for a harness quotation so the proposed manufacturing scope addresses your wire stripping requirements.