
Wire harness cable ties must hold your routing without damaging insulation or restricting required movement. Specify the tie, mounting method, installation process and acceptance checks together. This guide helps you turn “secure the bundle” into purchasing and assembly requirements that your supplier can review.
Define What Each Cable Tie Must Do
Your cable tie requirement should distinguish wire grouping from attachment to the equipment structure.
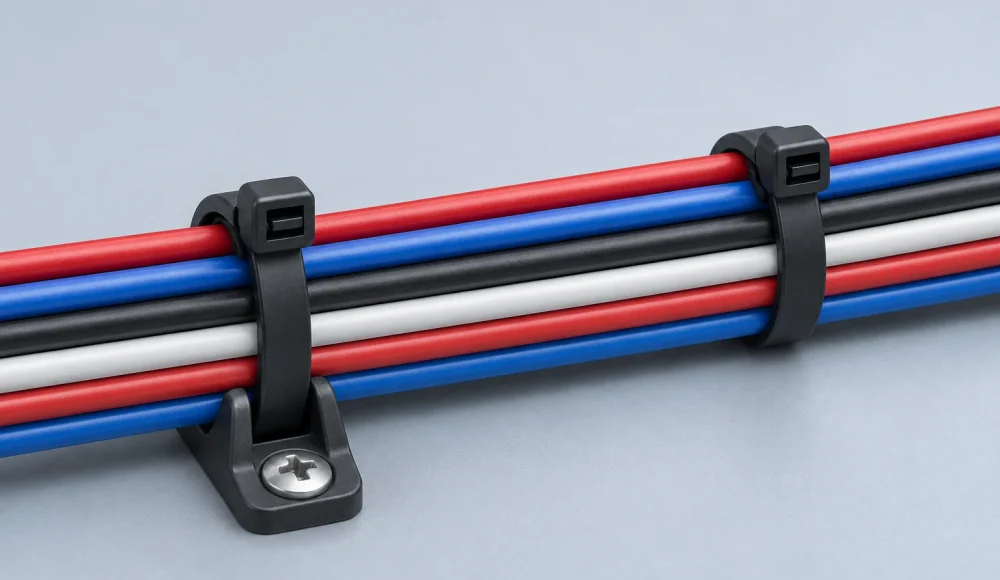
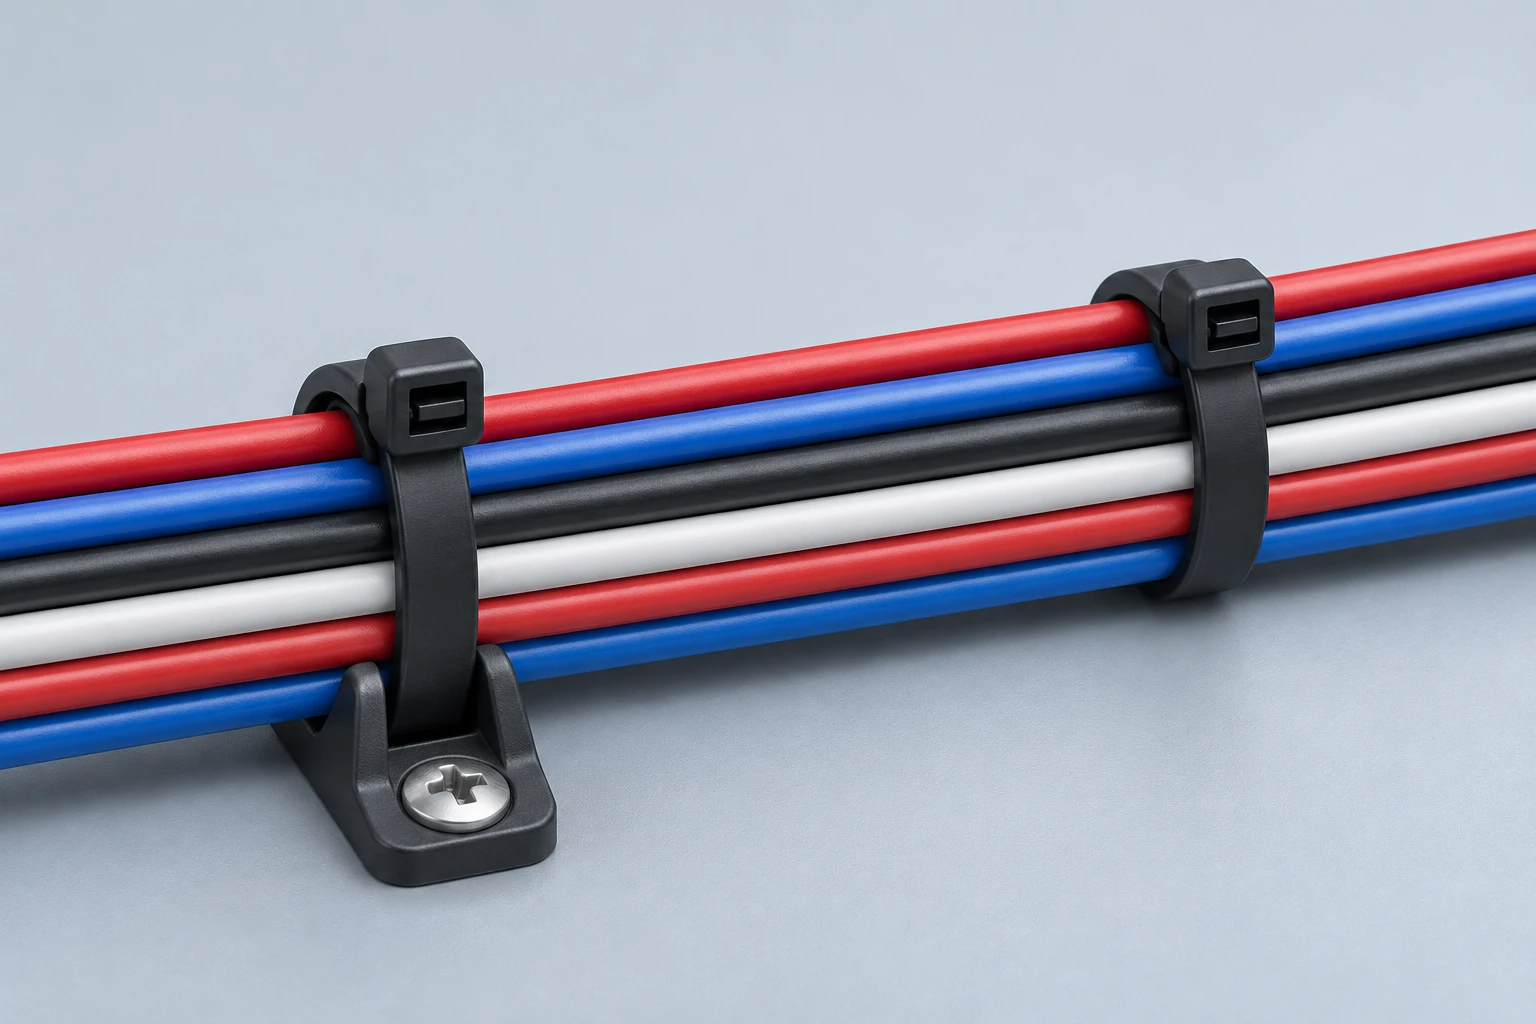
A tie around several wires keeps them together. It does not automatically support the bundle against the enclosure. A mounted tie adds another load path through the mount, fastener and supporting panel.
Identify the purpose at each location before choosing hardware. You might need branch organization, clearance from moving parts or support near a cable entry. These functions can require different components.
Also distinguish temporary production ties from permanent installed ties. A temporary tie may help assembly but obstruct later routing. State whether the supplier must remove it before inspection or shipment.
Think about the finished equipment rather than the harness lying on a bench. A tidy bundle can still contact an edge, block a latch or pull against a connector. Your routing review should expose those problems before release.
Record who installs each mounting component. Some ties arrive fitted to the harness, while equipment assemblers install others. Undefined responsibility can leave necessary supports missing during final integration.
Separate Loop Tensile Strength From Installation Tension
Loop tensile strength describes tie performance under a defined test; installation tension describes how you tighten the tie.
These values answer different questions. A strength rating helps characterize the fastener. It does not prescribe how much force your particular wire insulation can tolerate during assembly.
The HellermannTyton cable tie guide explains strength testing using a split mandrel. The test increases loading until the installed tie fails. Your wire bundle is not that test fixture.
Do not use the published breaking strength as your installation target. Review the tie manufacturer's tooling guidance, then evaluate the actual bundle construction. Thin insulation, soft jackets and mixed wire sizes can affect the acceptable result.
Likewise, do not assume a numbered tool setting represents a universal force. Confirm the tool model, supported tie range and manufacturer's verification method. The same dial number on another tool may not represent the same process.
Keep the approved setting with the work instruction. Your record should identify the tie reference, tool reference and relevant bundle configuration. A note saying “tighten firmly” leaves too much interpretation.
Select Material And Size For The Actual Environment
Choose tie material and size using the installation geometry, exposure conditions and component documentation.
Check the bundle's smallest and largest assembled dimensions. Include sleeving, tubing and any manufacturing variation. A tie that barely closes on one sample may not fit the full production range.
Review strap width and head size as well as length. The head may interfere with a nearby wall or connector release. A longer tie does not resolve an unsuitable locking head.
Define heat, outdoor exposure, fluids and other relevant conditions. Do not infer environmental suitability from black color alone. Identify the exact material designation and part number required by your design.
The Panduit material selection guide distinguishes standard, weather-resistant and heat-stabilized materials. It also separates continuous-use temperature from installation temperature. Review the applicable product data instead of treating these categories as interchangeable.
For chemical exposure, describe the actual substances and conditions. A general statement such as “oil resistant” may omit the fluid, temperature or contact duration. Ask for supporting component information where the application requires it.
Keep any required approvals tied to the specified product. A resin flammability classification does not establish that your complete harness satisfies every equipment requirement. Confirm the applicable scope before making a compliance claim.
Decide When A Different Fastener Fits Better
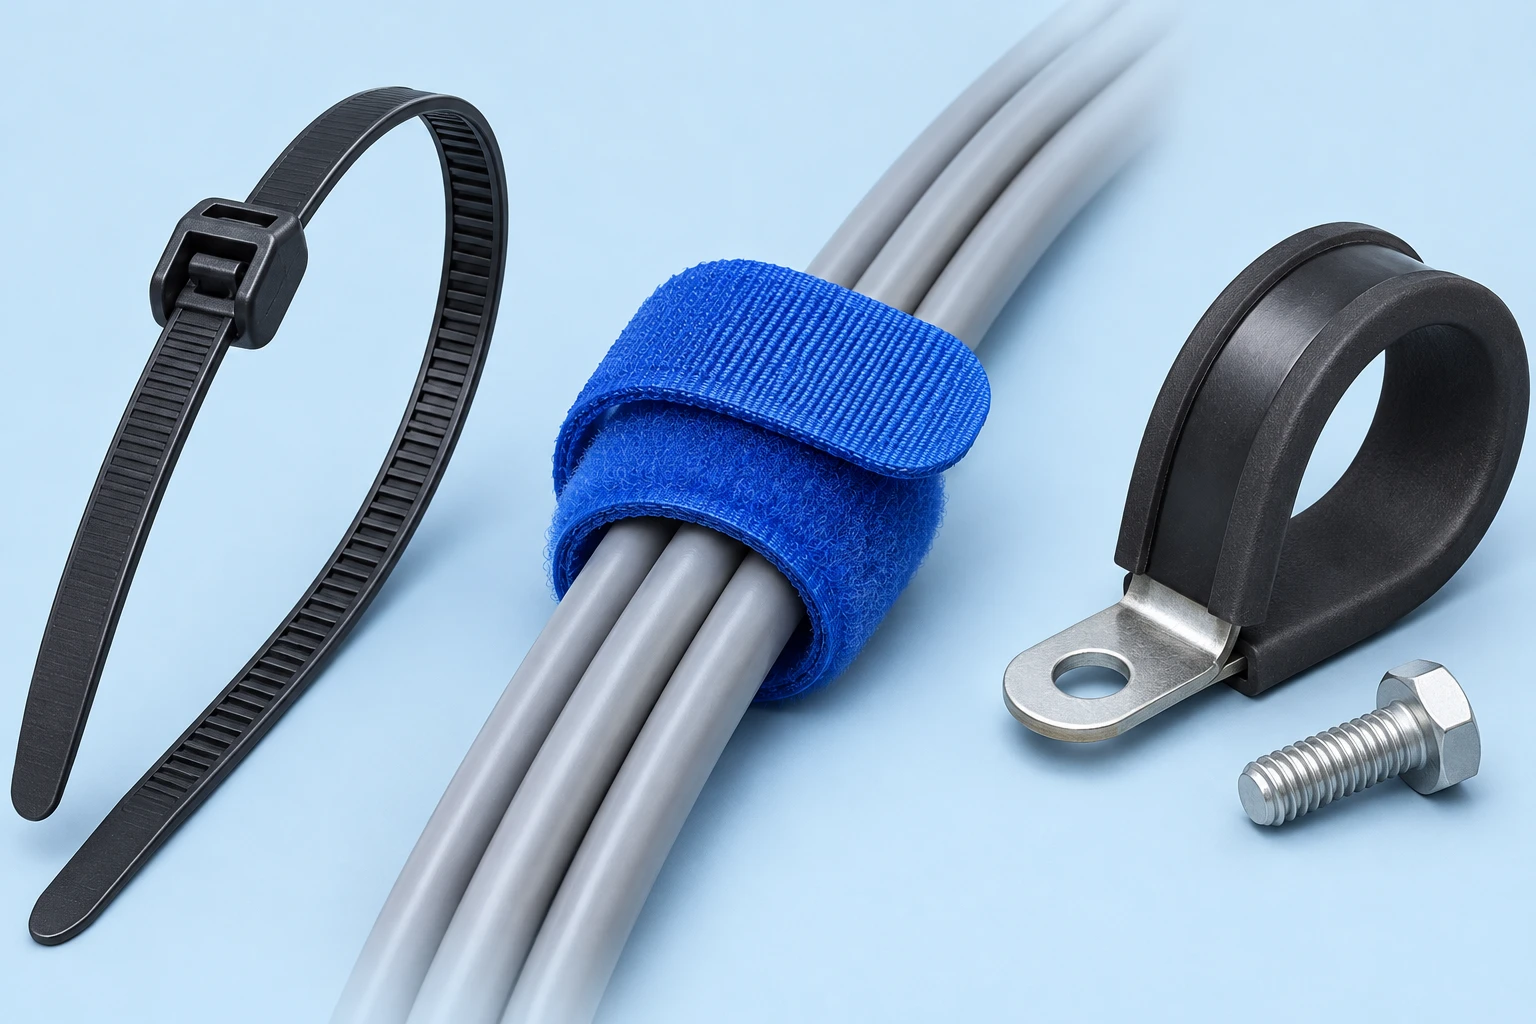
Use an alternative when an ordinary ratchet tie cannot meet the bundle's protection, support or servicing needs.
A releasable strap can make repeated access easier. A cushioned clamp can provide a different support interface. Each option still needs review for its actual material, retention and mounting requirements.
Do not substitute fasteners solely because they look gentler or stronger. A reusable strap may have different environmental limits. A rigid clamp needs a suitable size and secure attachment to the structure.
Separate heavy cable support from light wire organization. If the bundle needs substantial structural restraint, evaluate an engineered support arrangement. Adding more small ties does not automatically establish adequate retention.
Check sensitive cable requirements before tightening any fastener. Your cable manufacturer may limit compression or require a particular restraint method. This matters when electrical performance depends on preserving the cable construction.
| Routing Need | Option To Evaluate | What You Must Confirm |
|---|---|---|
| Permanent Wire Grouping | Polymer Ratchet Tie | Fit, tension and insulation condition |
| Frequent Service Access | Releasable Strap Or Tie | Reuse instructions and environmental limits |
| Attachment To A Panel | Tie With A Defined Mount | Mount, fastener and panel compatibility |
| Sensitive Cable Bundle | Broad Or Cushioned Restraint | Cable-specific compression requirements |
| Heavy Cable Support | Engineered Clamp Arrangement | Loads, attachment and validation scope |
Treat this table as a selection discussion, not a list of automatic substitutes. Your approved drawing should identify the final solution.
Place Ties Around The Installed Routing
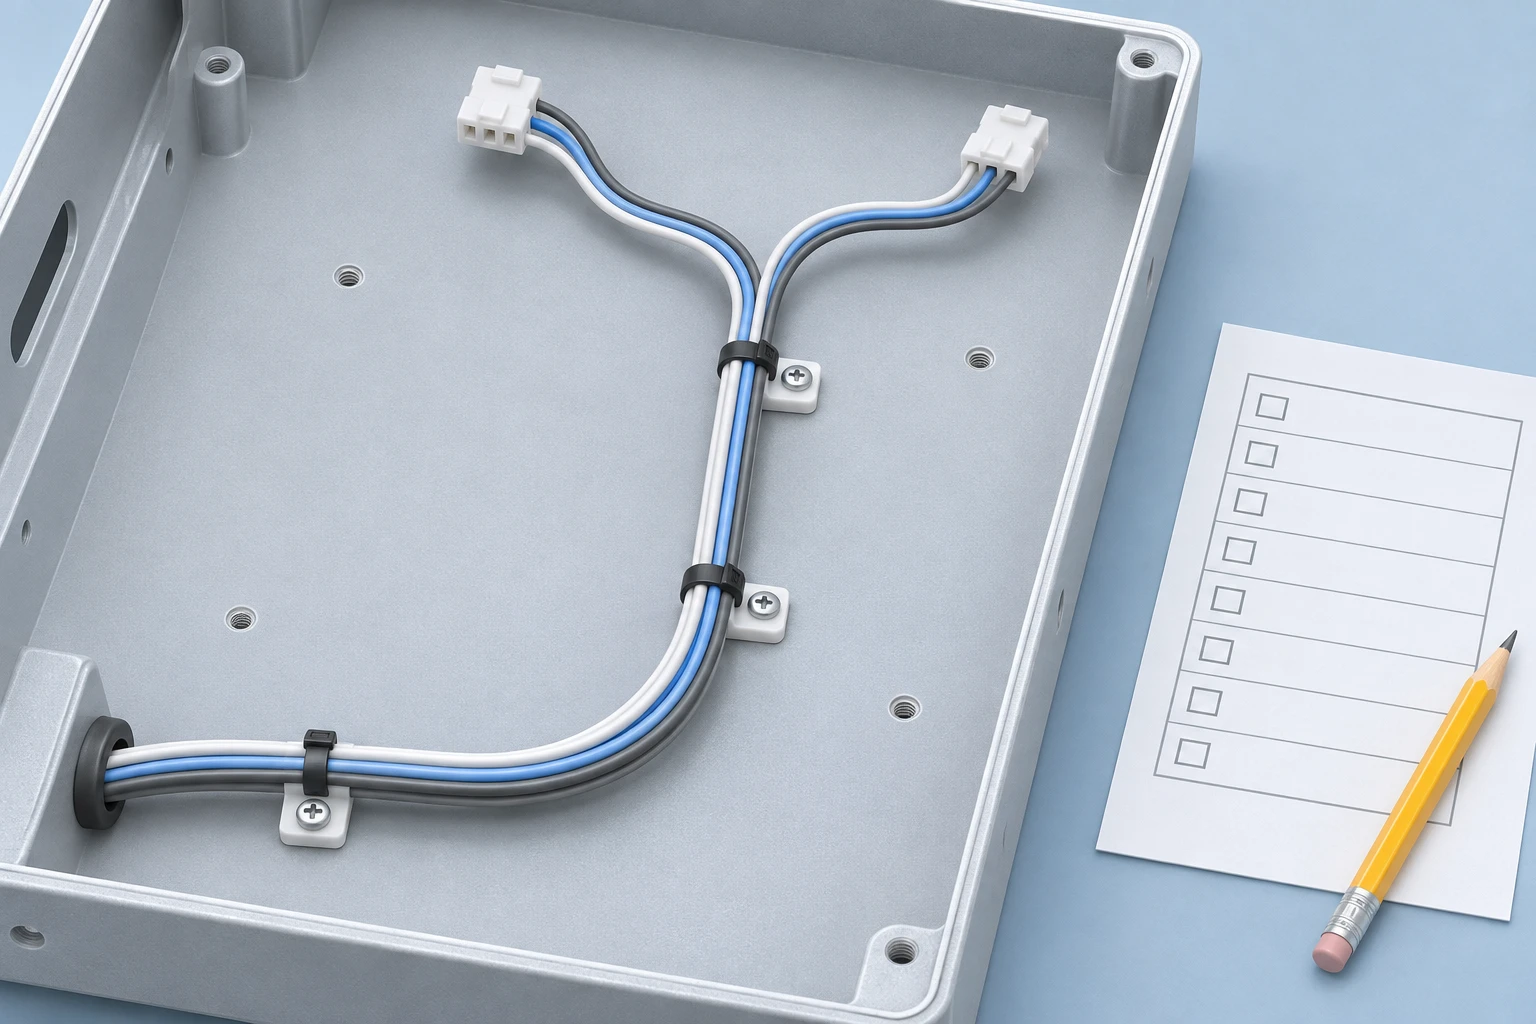
Tie positions should preserve branch geometry, connector access and required clearance throughout the installed route.
Establish positions from drawing datums rather than visual spacing alone. Identify which ties control branch locations and which only organize the trunk. This distinction helps inspectors assess the features that matter.
Avoid forcing a branch into position by tightening a nearby tie. First check the wire lengths, breakout position and assembly orientation. A restraint should maintain the intended route rather than conceal a dimensional error.
Leave the connector's required wire exit region unrestricted. Follow the component application instructions where they define free wire length or dressing. A tie placed too close can oppose the intended terminal movement.
Check the entire head envelope after installation. Position the locking head and trimmed end away from adjacent insulation and service contact areas. Confirm that technicians can still reach the connector release.
Your connector service access review should include these restraints. A service loop becomes ineffective if a tie prevents the movement needed for disconnection.
Do not copy a universal tie-spacing rule into every drawing. Appropriate spacing depends on bundle mass, stiffness, routing, movement and the support arrangement. Validate the locations against your equipment requirements.
Review Mounts And Cable Protection Together
A mounted tie performs only as well as its mount, attachment and supporting surface allow.
Specify the mounting reference alongside the tie. Check strap compatibility, available clearance and the direction of applied loading. Review the panel hole, stud or edge geometry when the mount depends on those features.
For screw-fixed mounts, define the appropriate fastener and assembly requirements. Confirm that the mount seats correctly against the intended surface. A distorted or rocking mount can change the bundle position.
For adhesive mounts, follow the manufacturer's substrate preparation and installation instructions. Review the actual coating, contamination, temperature and loading conditions. Do not assume adhesion on a clean sample represents every production surface.
Evaluate protection where the route approaches an edge or rough surface. A cable tie does not replace a suitable grommet, sleeve or edge treatment. Preventing bundle movement cannot compensate for a harmful contact surface.
Consider sleeve movement as well as wire movement. A tie may hold the outer sleeve while the contents move differently. Your acceptance checks should reflect the intended assembly behavior.
Use a representative panel or installation fixture during the first review. Confirm that the harness fits without pulling connectors into place. Record the support arrangement alongside your harness length requirements.
Establish A Controlled Installation Method
A repeatable installation method identifies the compatible tool, approved setting and acceptable finished condition.
Begin with the tie and tool manufacturer's instructions. Confirm that the selected tool supports the strap width, thickness and material. Use the specified setup process rather than adapting unrelated tooling without review.
Prepare a representative bundle before selecting the production setting. Include its intended sleeving and mixed wire sizes. A rigid demonstration mandrel cannot reveal every effect on the actual assembly.
The Panduit PAT operation manual identifies excessive tension as a cause of overly tight ties. It also connects installation problems with tool angle and nearby obstructions. These examples show why the operator method belongs in your process review.
Record tool orientation and access where they affect installation. A setting approved with open access may be difficult to reproduce beside a crowded bracket. Adjust the layout or method before releasing the work instruction.
Define the required tail finish using the applicable instructions. Check for projections, burrs and damage around the locking head. Cutting technique should not expose adjacent insulation to the cutting edge.
Keep tool maintenance and verification records appropriate to the process. Do not assume that a stored setting proves current performance. Confirm the verification method and responsibility before production starts.
Inspect More Than The Bundle's Appearance
Your inspection plan should assess routing, tie condition, attachment and the effect on the restrained wires.
Start with part identity and position. Confirm the specified tie and mount references, then check orientation against the drawing. Material substitutions may be invisible after installation, so purchasing records matter too.
Inspect the locking head, strap and trimmed tail. Look for cracks, incomplete engagement, sharp projections or damage. Compare questionable conditions with the approved acceptance criteria rather than relying on appearance alone.
Check the wires and protective covering around each restraint. Look for cuts, pinching, unexpected flattening or displaced protection. Agree how to judge pressure marks for your actual insulation and covering materials.
Then assess the installed function. The restraint must preserve intended clearance without pulling the connector or preventing service access. Specify any movement or retention check through an approved method and acceptance limit.
Separate electrical inspection from physical restraint inspection. A continuity result may not reveal insulation compression or an insecure mount. Review these checks as complementary parts of harness quality control.
For development samples, an agreed sacrificial review can help reveal hidden contact effects under a restraint. State the method and sample disposition. Do not remove production ties casually and ship the altered assembly without controlled rework.
Control Storage, Replacement And Rework
Storage and rework controls should preserve the specified tie condition and prevent damage during removal.
Keep original packaging and lot identification where required by your quality plan. Follow the manufacturer's instructions for the actual material. Different tie materials can require different storage and handling practices.
HellermannTyton advises sealed packaging and protection from direct heat and sunlight for its polyamide ties. Its guide also discusses moisture balance. Use this as manufacturer-specific guidance, not a universal instruction to wet or condition every tie.
If ties crack during installation, stop and investigate. Check the material, lot, storage history, tool compatibility and method. Increasing tension or changing brands without review can obscure the cause.
Plan removal access before choosing a permanent tie location. Your technician needs a way to cut or release the restraint without damaging nearby insulation. Protect the wires and use a suitable removal method.
Replace single-use ties after removal. Reuse a releasable product only when its instructions and condition permit it. Your maintenance instruction should identify the approved replacement reference.
After rework, repeat the relevant routing and inspection checks. Removing one restraint can change branch position or expose a contact point elsewhere. Record any approved configuration change through your harness revision process.
Compare Total Installed Cost Before Ordering
Your fastening cost includes hardware, installation access, inspection, rework and later service effort.
Compare options against the same routing and environmental requirements. A cheaper tie may require more installation time or a different support arrangement. A more expensive option may provide no practical benefit on a simple fixed bundle.
Include tool compatibility in the comparison. Changing strap size or material can affect installation tooling and process approval. Review these costs before purchasing large quantities of an alternative.
Look for unnecessary complexity in the drawing. Too many tie variants can increase picking errors, while excessive tie locations add assembly and inspection work. Standardize only where the resulting configuration remains suitable.
Include maintenance access when the equipment requires repeated intervention. A service-friendly restraint may reduce removal and replacement steps. Estimate that benefit from your actual service process rather than invented savings.
For quotations, provide expected quantities and annual demand. Identify which hardware is customer-specified and which remains open for review. This helps the supplier distinguish an approved build from an unfinished fastening concept.
Review Cable Tie Requirements With XSD
You can ask XSD to review wire tying and protective components against your approved harness routing requirements.
XSD's manufacturing capabilities list cable bundling, wire tying and protective sleeving within secondary processing. These services support discussion of your installation configuration. They do not establish a universal tie tension, retention load or environmental rating.
Send the harness drawing, bill of materials and installed routing information. Include tie and mount references, location requirements, access constraints and inspection criteria. Identify any unresolved selection decisions before requesting a production quotation.
Agree the sample review and validation scope separately from routine assembly checks. If special retention or environmental tests are needed, define the method and responsibility. Do not assume every additional test is included in a standard harness order.
An approved sample should support the written requirements. Record the tool setup and acceptance conditions that made it acceptable. A photograph of a tidy harness cannot communicate every process detail.
Frequently Asked Questions
You should resolve tie strength, installation control and service replacement requirements before approving production.
What Tension Should You Use For Wire Harness Cable Ties?
Use a setting established for the specific tie, compatible tool and actual bundle. Follow manufacturer guidance and confirm the finished condition. There is no single tension suitable for every wire size, insulation material and routing arrangement.
Does A Stronger Tie Mean You Should Tighten It More?
No. Tie strength and installation tension describe different things. The bundle must remain protected while the restraint performs its intended function. A higher strength rating does not establish an acceptable compression level for your wires.
How Far Apart Should Harness Cable Ties Be?
Base positions on bundle behavior, routing, support and the equipment requirements. Review branch points, clearances and movement before approving spacing. A universal distance cannot account for every harness construction or installation.
Can Black Cable Ties Be Used Outdoors?
Check the exact material and product data. Color alone does not demonstrate the required weathering performance. Specify the exposure conditions and approved tie reference, including any relevant installation and operating limits.
Can You Reuse A Removed Cable Tie?
Replace a single-use tie. Reuse a releasable design only when the manufacturer's instructions and its condition permit it. After replacement, confirm the routing, attachment and wire condition against the approved inspection requirements.
Send Your Harness Fastening Requirements
Send your drawing, routing views, tie references and expected quantities for review. Include installation and inspection requirements. Contact XSD for a harness quotation so the proposed assembly scope reflects the fastening details your equipment needs.