

Wire harness labeling needs more than readable text on a new assembly. You must define identification content, marker fit, installation visibility, exposure, and inspection. This guide helps you specify labels that support assembly, service, and traceability without confusing those jobs.
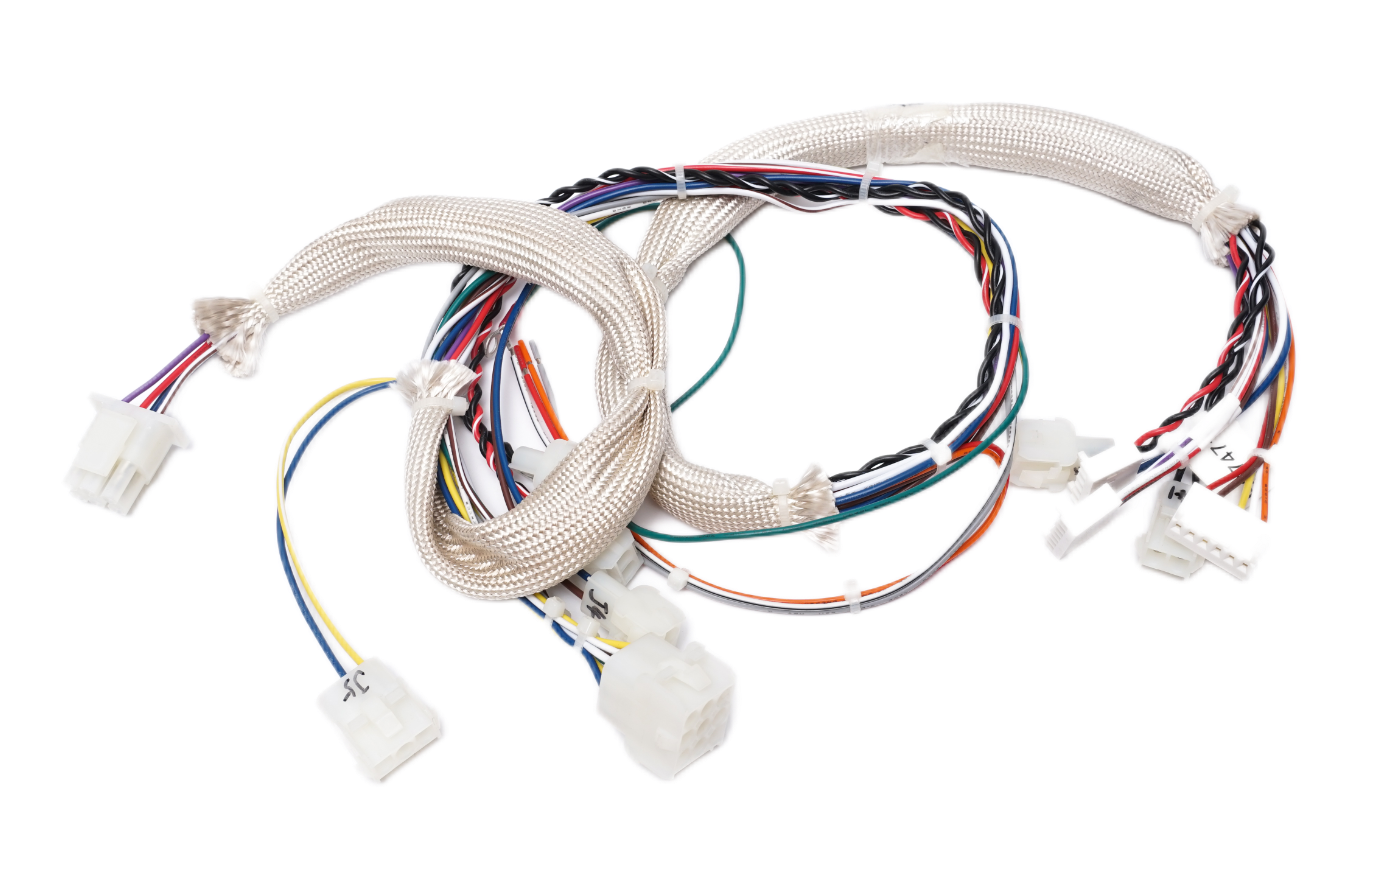
Separate Circuit Identification From Traceability
Circuit identification tells you where a connection belongs; traceability tells you which manufacturing record belongs to the assembly.
You usually need both, but they should not compete for limited marker space. A connector reference supports installation. A serial number supports investigation. A revision identifies a controlled configuration.
Start by listing the decisions each reader must make. Your assembler needs the correct mating connector. Your receiving inspector needs the correct part and revision. Your service technician needs an identifier visible inside the installed machine.
A long purchasing description rarely helps at a connector branch. Conversely, a short connector identifier cannot identify a manufacturing batch. Give each information field a defined purpose before choosing the label format.
A practical marking schedule separates assembly identifiers, connector references, individual wire numbers, and optional serialized records. Include only fields your program actually uses. Unused fields increase maintenance work and create opportunities for inconsistent printing.
Do not use a printed label as proof of electrical correctness. You still need the approved connection table and inspection requirements. Your connector pinout verification process should check the circuit independently.
Build A Controlled Marking Schedule
A marking schedule should connect every required identifier to its location, material, source data, and acceptance rule.
Put that schedule beside the harness drawing or reference it through a controlled document number. Avoid leaving identification instructions scattered across emails, photographs, and purchase order comments.
For every marker, define the exact text or the approved variable field. Distinguish a literal character from a field placeholder. State whether leading zeros, spaces, hyphens, and letter case matter.
Then define the source of truth. Connector references might come from the connection table. Assembly revisions should come from the released manufacturing package. Serial numbers need a controlled allocation method that prevents duplicate assignments.
You also need a rule for unused or cancelled numbers. Reprinting a damaged marker should not silently create another assembly identity. Record which physical assembly received the replacement and how the old marker was removed.
Freeze the approved artwork with the sample package. A screenshot helps communicate appearance, but it should not replace editable source data. Keep the artwork revision connected to the harness revision without assuming their revision codes must always match.
| Identification Job | Useful Content | Drawing Requirement |
|---|---|---|
| Whole Assembly | Part number, revision, required lot or serial | Location, orientation, controlled data source |
| Connector Branch | Connector reference and optional destination | Branch association and installed visibility |
| Individual Conductor | Wire number or circuit reference | Ends marked, repeated marking if required |
| Service Replacement | Readable identity linked to service documentation | Visibility after installation and replacement rules |
Choose A Marker Format Before Choosing A Brand
Your marker format should match the installation sequence, available surface, and information that must remain readable.
Adhesive labels, printable sleeves, and attached tags solve different packaging problems. You should compare their mechanical fit before comparing print appearance.
TE Connectivity’s identification portfolio includes adhesive labels, heat-shrinkable sleeves, and cable markers. Those categories provide options, rather than universal interchangeability.
Heat-Shrink Markers
You can consider a printable heat-shrink marker when you can install it before the connector blocks access. Check supplied diameter, recovered fit, and compatibility with nearby components.
Do not assume any insulating tube is a suitable printable identification sleeve. The selected marker and printing system need their own documentation. Installation heat must also suit the wire insulation and adjacent materials.
Decide whether the marker should remain movable during assembly. If you require recovery, define the final condition separately. Avoid shrinking a sleeve over a latch, seal interface, or intended flex transition.
Self-Laminating Wrap Labels
You can consider a wrap label when access prevents threading a sleeve over the wire. Confirm the cable diameter and available straight length.
Brady’s B-427 product information describes a printable zone protected by an overlaminating area. Select the actual label size and compatible printing supplies from current documentation.
A wrap that is too short may leave print exposed. An oversized wrap can create awkward overlap or obscure adjacent information. Evaluate the applied label, rather than approving the flat artwork alone.
Attached Tags And Flags
You can consider a tag when a corrugated bundle lacks a suitable smooth labeling surface. A flag can provide more readable space.
However, added projection can snag during pulling or interfere with a cover. Your attachment method needs clearance and retention review. Do not tighten an attachment until it damages insulation or distorts the bundle.
Size Labels Around The Finished Cable
Marker sizing should use the finished outside diameter and available marking length, rather than conductor gauge alone.
Two wires with identical conductor sizes can have different insulation diameters. A bundle changes again after sleeving, tape, or protective conduit. Measure the surface that actually carries the marker.
For a sleeve, check installation clearance before termination. Then check the permitted final fit against the manufacturer’s product information. A sleeve that passes over bare wire may not pass over an assembled terminal.
For a wrap, consider the circumference and the portion reserved for print protection. Brady’s self-laminating label calculator provides a manufacturer tool for that selection task. Confirm its result against the specific label and cable.
Do not apply nominal diameter calculations to an irregular branch junction without checking the physical sample. Local tape overlap and bundle compression can change the surface shape.
Also check the longest approved identifier. A short prototype label can hide a production problem when serial fields grow. Review the complete permitted character range before fixing marker dimensions.
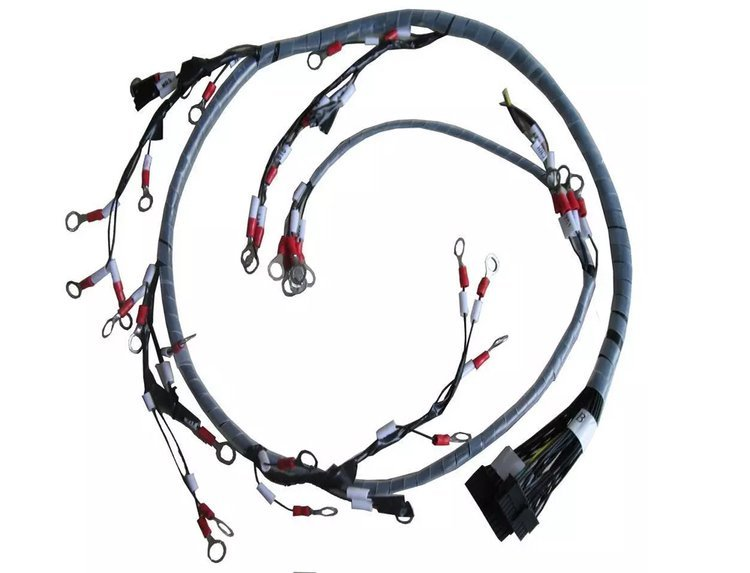
Place Markers For The Installed Assembly
A useful marker remains associated with the correct branch and readable after the harness reaches its installed position.
A label visible on a flat inspection bench may disappear behind a panel. Check the actual routing, connector orientation, and service access. Include clamps, boots, covers, and protective wrapping in that review.
Define placement from a reproducible reference. You might reference the connector housing or a drawing-defined branch datum. State whether the dimension locates the marker edge or its center.
Do not write only “near connector” when position affects access. Equally, avoid unnecessary tight placement tolerances without a functional reason. Your inspection method must reproduce the drawing’s intended measurement.
Keep labels away from connector mating interfaces, locking features, and strain-relief transitions unless the design specifically accommodates them. Leave enough room for technicians to release the connector safely.
Review duplicated connector types carefully. Their labels should reduce branch confusion without replacing physical routing controls. If two branches cross, check which identifier remains visible from the service position.
For dimensional references, use the same principles described in wire harness length tolerances. The datum and measurement condition matter more than a location number alone.
Specify The Printed System And Exposure
Label durability depends on the marker, printing supplies, application conditions, cable surface, and exposure acting together.
A material name alone cannot establish readable service life. Describe the actual environment and the failure you need to prevent. Separate initial application conditions from later operating conditions.
For example, installation may occur in a cool workshop before equipment enters a warmer enclosure. Cleaning fluid may contact the label briefly. Another location may experience repeated wiping and abrasion during maintenance.
List the relevant chemicals by identity and concentration where known. Include contact duration and temperature when they affect your acceptance decision. “Oil resistant” or “waterproof” leaves too much room for incompatible interpretations.
The TE identification selection guide pairs marker families with recommended hardware and ribbons. Its family-specific ratings are not ratings for every labeled harness.
Ask your supplier to identify the proposed marker and compatible print consumable. Review current technical documentation before approving substitutions. Do not infer XSD’s equipment or qualification scope from another manufacturer’s catalog.
If requirements involve regulated equipment, your responsible engineering team should identify the applicable standards and documentation. A recognized component does not automatically establish compliance for the finished equipment.
Define Readability And Barcode Acceptance
Readable text and machine-readable codes need acceptance rules that reflect their actual viewing and scanning conditions.
Check contrast, character distinction, print damage, and the space available around the identifier. Specify what happens when a character becomes ambiguous. Similar-looking letters and numbers deserve particular attention.
For barcodes, define the intended symbology and data structure with your receiving system owner. Confirm permitted characters, length, separators, and any check fields. A correct-looking barcode can still encode the wrong record.
Test the code after application on the real cable. Curvature, glossy overlap, and limited access can change scanning behavior. Include the intended scanner and realistic access during sample review.
A successful scan is a useful functional check. It is not automatically a formal barcode quality grade. If your contract requires verification grading, specify the applicable method and agreed equipment.
Keep essential human-readable information available when the service process requires it. Do not assume technicians will always have a scanner or database connection. Conversely, avoid printing a long database record where a controlled key would work.
Control Label Data During Manufacturing
A labeling process needs to prevent correct labels from being applied to the wrong assemblies.
Start with the released drawing, connection table, and marking schedule. Review discrepancies before printing. Do not let an operator resolve conflicting revisions through an informal judgment.
Generate print jobs from controlled data wherever your agreed process allows. Limit manual retyping of identifiers. Compare the first printed article with the approved artwork and production order.
During application, keep different part numbers and revisions separated. Control loose printed markers so they cannot migrate between jobs. Reconcile rejected or unused serialized labels according to the program’s record rules.
Connect identification inspection with assembly verification. A label can match the drawing while the wiring is incorrect. Electrical testing and identification checks address different failure modes.
After rework, inspect the replacement marker and its branch association again. A repaired circuit may need updated documentation without changing the assembly’s identity. Your change-control procedure should define that distinction.
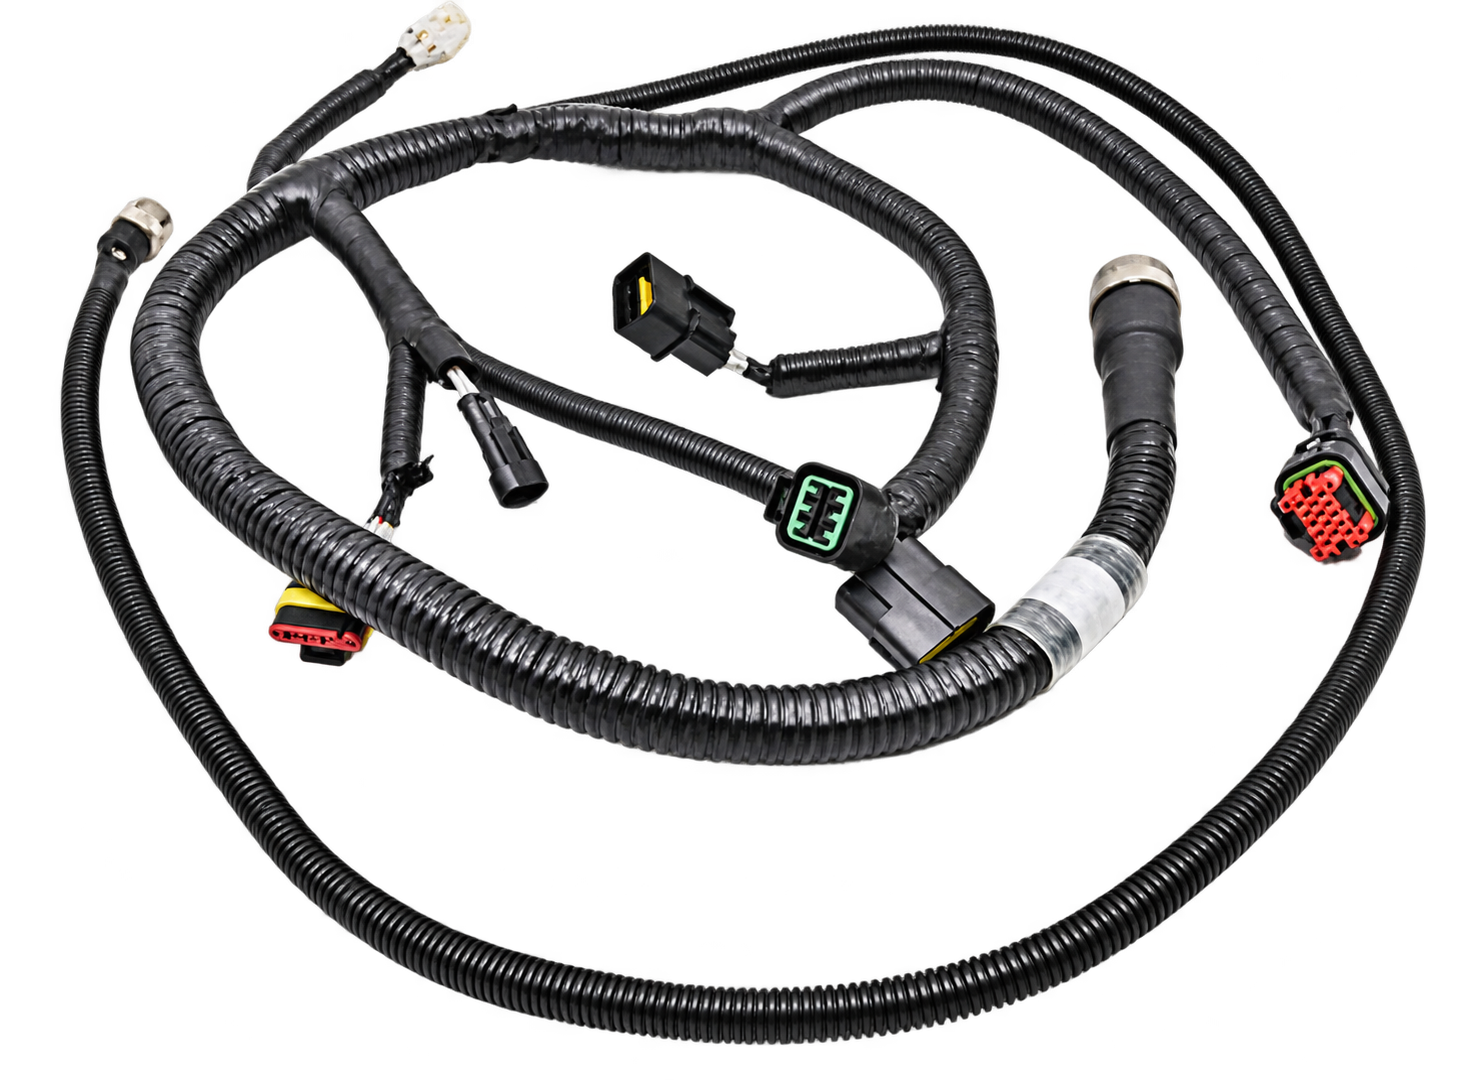
Agree Sample Approval And Receiving Checks
Sample approval should verify the applied marker against the drawing, installation needs, and agreed exposure requirements.
Approve a representative assembled sample rather than a printout alone. Include the smallest cable, longest identifier, and most restricted installation position. These conditions may reveal different weaknesses.
Record the marker part number, printing supplies, artwork revision, and assembly revision. Where exposure testing is required, record the method and acceptance criteria. Do not invent a universal rub count or soak duration.
Your receiving plan should distinguish missing labels, incorrect data, misplaced labels, and unreadable printing. These defects can have different consequences. Set the inspection extent according to your risk assessment and purchasing requirements.
Photographs can record placement, but lighting can conceal low contrast or lifting edges. Keep direct inspection where it matters. If a code is required, compare decoded data with the expected record.
Rejecting every cosmetic variation may add cost without improving service reliability. Accepting any readable mark may overlook an incorrect revision. Write requirements around function, data integrity, and controlled appearance.
Compare Supplier Quotes On The Same Scope
Comparable labeling quotes require the same marker specification, data complexity, application work, and inspection scope.
Separate material cost from the handling and recordkeeping work. A small label can require substantial effort when each assembly carries unique data. Repeated identifiers and serialized identifiers create different control needs.
Ask whether the quotation includes artwork preparation, print setup, application, and required records. Confirm who supplies the serial number range. Discuss how approved changes affect work already printed.
Marker placement can also change assembly order. A closed sleeve may need installation before crimping or connector assembly. Late introduction can require rework or a different approved marker format.
Do not select an alternate solely because its dimensions and color match. Check print compatibility, attachment, exposure, and documentation. Require approval before a substitution changes the agreed identification system.
Your purchasing comparison should also include sample approval and replacement support. A lower initial price may exclude the records you need. Request a clear scope instead of assuming every supplier includes identical verification.
Review Labeling With XSD Harness
You can include identification requirements in XSD’s drawing-based harness review before sample and production approval.
XSD’s custom wiring harness page describes manufacturing against customer drawings, BOMs, and specifications. Its assembly examples include visible identification features. Those examples do not establish a specific label material or environmental qualification.
Provide your marking schedule alongside the harness package. Ask the team to confirm marker availability, installation sequence, and inspection scope. Confirm any required printing method or exposure test before you rely on it.
The quality assurance page provides the company context for controlled manufacturing and inspection. Your project still needs its own acceptance criteria. This article does not claim a particular barcode verifier or label qualification laboratory.
Wire Harness Labeling FAQ
Your labeling specification should answer practical installation, inspection, and purchasing questions before production starts.
Can Wire Color Replace Wire Numbers?
Use color as one identification aid, not an automatic replacement for required circuit numbers. Repeated colors and service changes can create ambiguity. Your drawing should define the identification combination.
Should Both Ends Carry The Same Identifier?
Use the identification scheme defined by your circuit documentation. Some programs use circuit numbers; others add destination information. State the required content for each end explicitly.
Can You Add A Sleeve After Connector Assembly?
Only if the selected sleeve can pass the assembled geometry without damage. Otherwise, review an approved alternative or change the assembly sequence. Do not enlarge the sleeve without checking final fit.
Is A Self-Laminating Label Automatically Suitable Outdoors?
No. Check the specific product documentation against sunlight, moisture, temperature, and service exposure. Its label format alone does not establish outdoor suitability.
Does A Passing Electrical Test Confirm Correct Labels?
No. It confirms only the electrical criteria included in that test. Check label content, placement, and revision separately against controlled documents.
Must Every Harness Have A Unique Serial Number?
Not necessarily. Your traceability requirements determine whether lot identification or individual serialization is appropriate. Define the record relationship before adding unique numbers.
Can You Approve Labels From Photographs?
Photographs support artwork and placement review. They cannot establish adhesive retention, exposure resistance, or reliable scanning by themselves. Approve the physical conditions your application requires.
What Should Your Labeling RFQ Include?
Include exact text, variable fields, marker specification, cable dimensions, locations, exposure, quantity, and inspection requirements. Attach the drawing revision and sample approval expectations.
Send A Complete Marking Package
A complete marking package lets your supplier evaluate identification as part of the harness build.
Contact us with your drawing, marking schedule, expected volume, installation photos, and exposure requirements. Request confirmation of materials, process sequence, and acceptance scope before approving production.
